Home Soil Tests vs Lab Soil Tests
Home Soil Tests vs Lab Soil Tests
I recently had the opportunity to get my soil tested for free by the Penn State Extension office, and I also bought a home soil test kit so that I can continue to test my soil as I attempt to fix some of my nutrient deficiencies using natural methods. So I thought I’d take the opportunity to talk about my experience using home soil tests vs lab soil tests.
The Lab Soil Test
The lab soil test I had done was offered through the Cuyahoga County Soil and Water Conservation District. They offered a limited number of free tests through the Penn State Extension on a first-come first-served basis. I saw the post on their social media, and I had always wanted to test my soil, so I signed up and they sent me a sample bag with instructions.
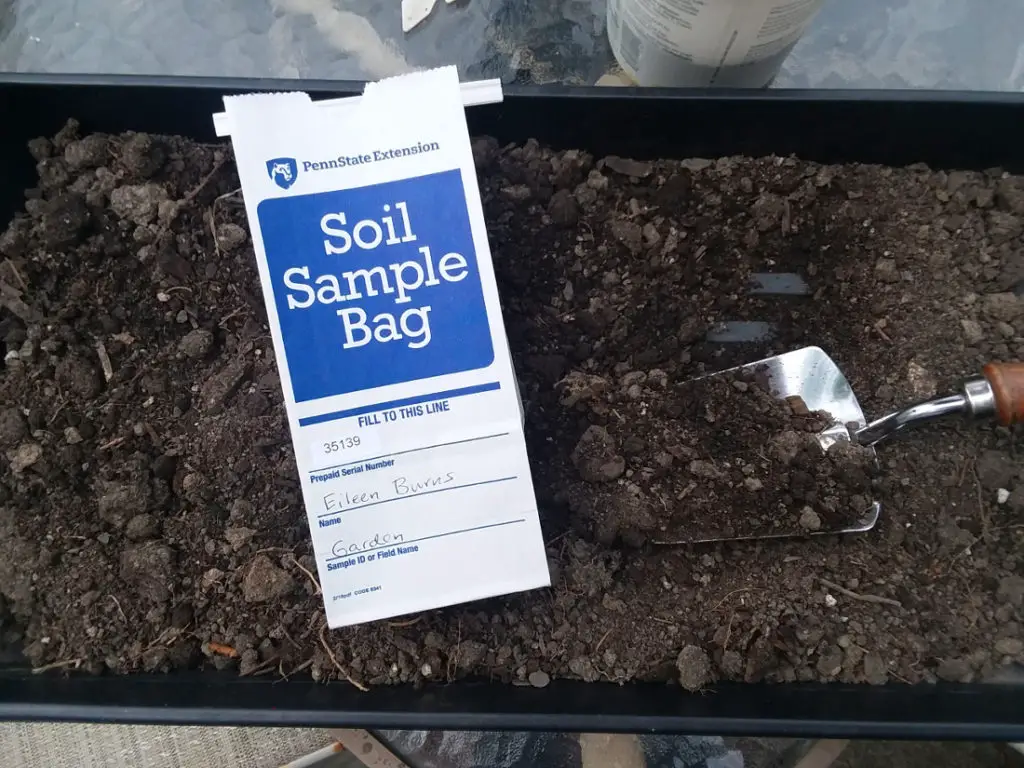
It was pretty simple, just take a few soil samples from different areas around the plot that you want to test, mix it together, let the soil dry out, remove clumps, twigs, etc. Fill the sample bag to the line with soil, seal it up. Fill out the form that is included and send it off to the lab for testing.
A few weeks later, I got my results. They looked like this:
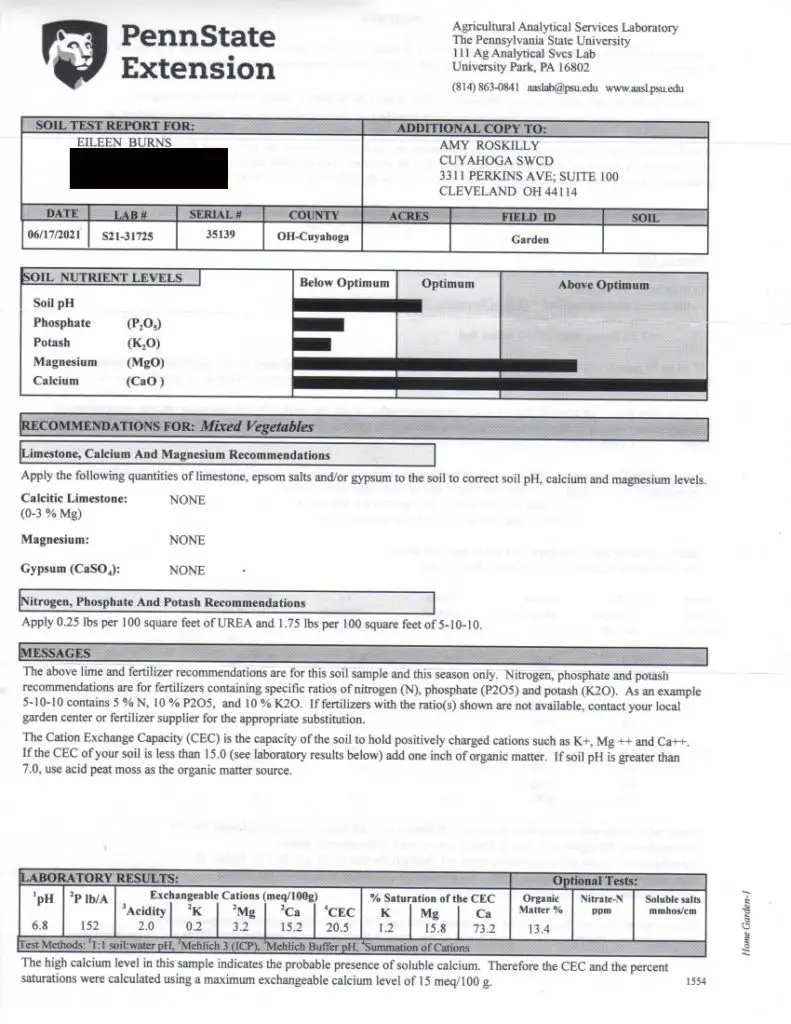
As you can see from my results, my soil pH is good (6.8), but the other major nutrients are all either too high or too low. I was disappointed that this test didn’t give me nitrogen totals, as you can see at the bottom, Nitrate-N ppm was apparently not included in this free test. I just assumed it would be, since nitrogen (N), potassium (K) and phosphorus (P) are the big three nutrients needed by plants for healthy growth. But the test was free, so I can’t really complain.

Interestingly they did make a recommendation of applying urea and 5-10-10. Urea is primarily used as a source of nitrogen, so they must have reason to believe my soil was also low in nitrogen, although they either didn’t measure it specifically, or at least they didn’t report it to me. Perhaps when the other two nutrients are low, nitrogen is assumed to be low as well?
You will also notice that my calcium level is extremely high, and that’s probably because I have a lot of clay in my soil. I have been adding compost to my garden over the years to try to improve it, and apparently my pH is good, so I’m not sure whether there is much else I can/should do about the calcium, but I will probably do some more research on this.
The Home Soil Test Kit
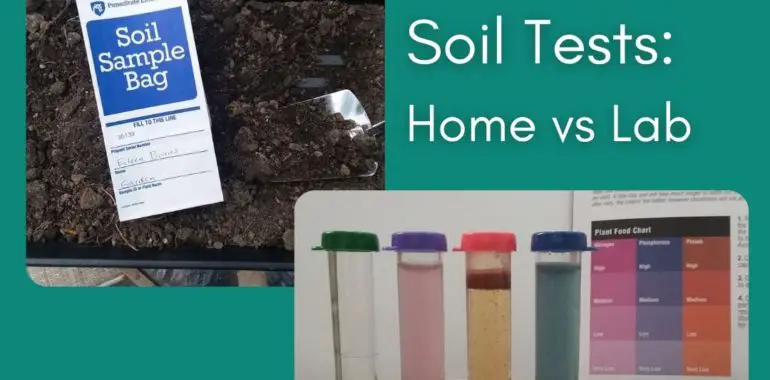
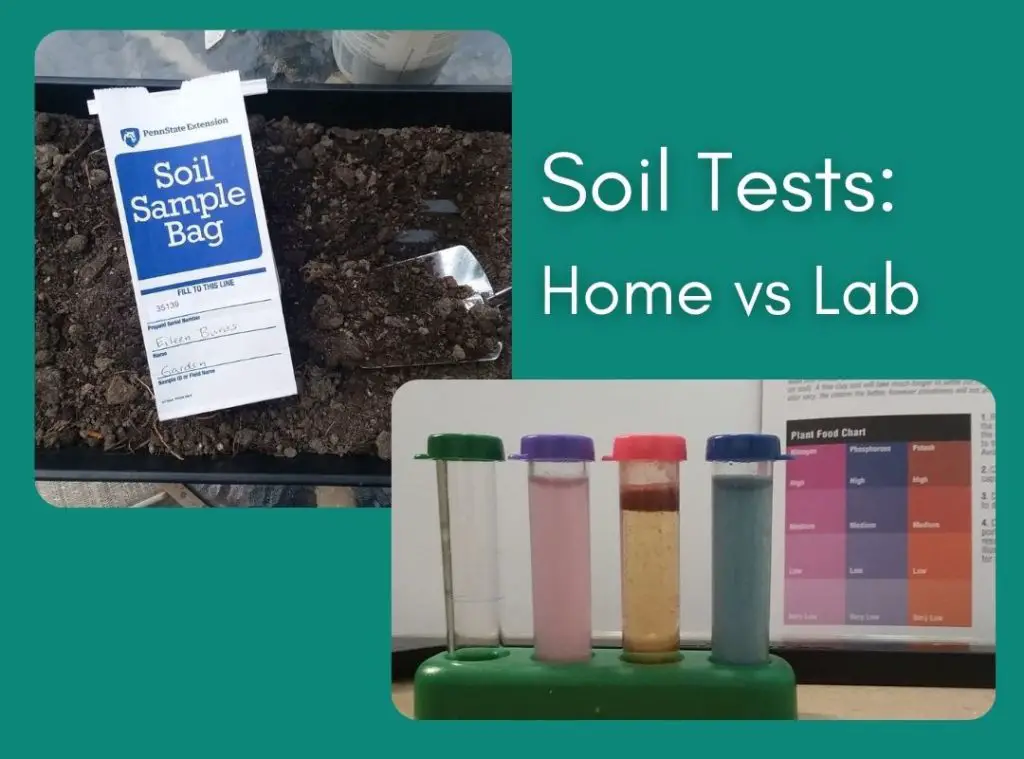
I was curious whether I could get similar results from a store-bought soil testing kit. I hit up my local Lowes and found a home soil test kit made by a company called HoldAll that makes a variety of plant-related products. This kit tests pH, phosphorus, nitrogen and potassium (which they sometimes refer to as potash). You don’t need to send this test anywhere, it comes with little test tubes and capsules that you use to create a reaction and compare against a color chart.
The nice thing about this kit is that it includes a bunch of capsules (10 for each nutrient) so that you can test multiple different areas or test over multiple seasons. It’s also pretty easy to use. Mix up some soil and water in a jar, let it settle out, put a bit of the “dirt water” into each test tube, break open a a color-coded capsule and add the contents, cap and shake, wait ten minutes and check against the chart. FYI, they said using distilled water was preferable, but I didn’t have any, so I just used filtered tap water.
I was mostly interested in the nitrogen results, but I went ahead and tested the potassium and phosphorus too. I didn’t test the pH because I wasn’t concerned about my soil pH at this time.
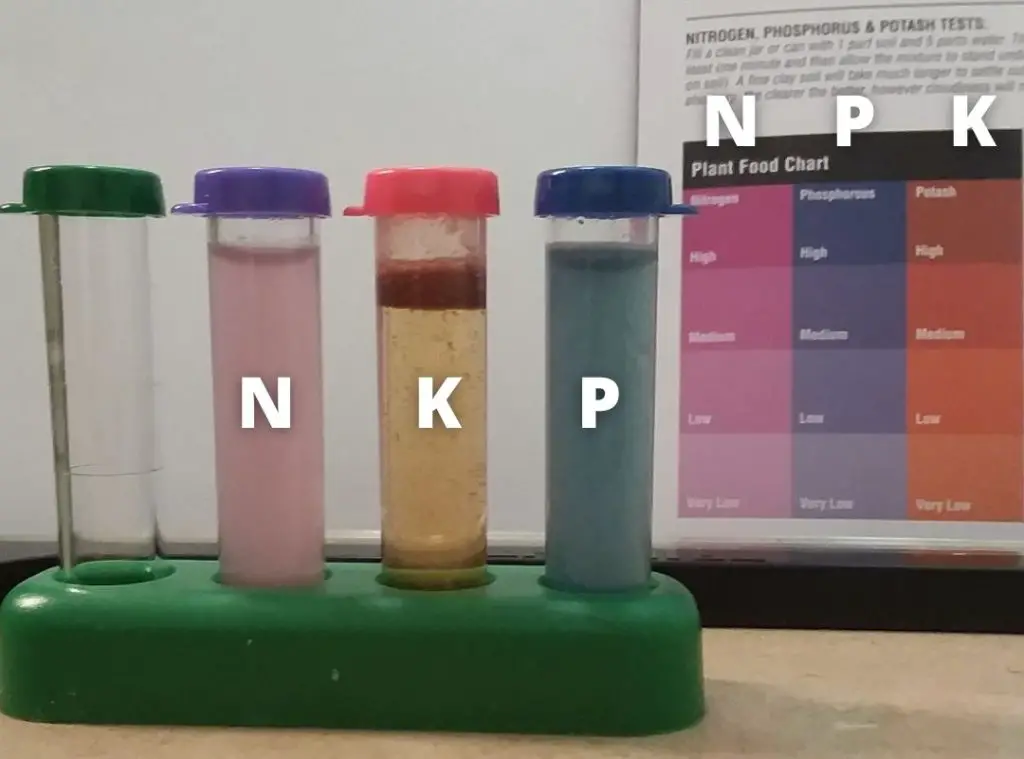
I did this test at the end of the growing season, whereas the Penn State lab test was done on a soil sample from early June. So this isn’t a true apples-to-apples comparison. But these results seem to match up pretty well with the test results I got from Penn State, even though the color spectrum chart isn’t nearly as precise as getting actual numbers from a lab test. If you can’t read the color chart, the levels are Very Low (the palest color), Low, Medium and High (the darkest color).
As you can see, my potash (K, potassium) seems quite low, and the phosphorus (P) is also low, though not quite as low as the potassium, which matches my lab test results pretty well. My nitrogen (N), which wasn’t included on the lab test, is clearly very low as well. I am hoping that the cover crop of white clover I planted right after I did this test will help improve my nitrogen levels (stay tuned for an update in spring). BTW – Sorry I didn’t put the tubes in the same order are the chart, I didn’t think of it when I took the photo, but I labeled everything to clarify.
Takeaways from Home Soil Test vs Lab Soil Test
Both of these tests have benefits and drawbacks.
Home Soil Test – Pros:
- Quick, instant results.
- Relatively inexpensive, for about $12 I can test my soil 10 times.
- Nitrogen test is included.
Home Soil Test – Cons:
- There is more room for user error.
- The results aren’t terribly precise.
- Results are limited to only pH and the big three nutrients. Won’t tell you anything about any contaminants you might have.
Lab Soil Test – Pros:
- This test is also fairly inexpensive, looks like Penn State charges $9 for the basic test and you can add nitrogen for $5.
- You can test for contaminants like mercury, lead, selenium and arsenic if that is a concern, although you have to specify which ones and each one costs extra.
- The results are more specific with number measurements and you can be more sure of the accuracy.
Lab Soil Test – Cons:
- You may have to wait awhile to get your results.
- You have to pack it up and pay to ship it.
- These services cater mostly to agriculture, so the forms can be a little confusing.
Another note on these tests – the Penn lab test gave a range from Below Optimum, to Optimum, to Above Optimum. Meaning that the ideal results would be in the middle range where it says “optimum.”
The home test doesn’t seem to work the same way. “Medium” doesn’t seem to mean “Optimum.” Although the documentation that came with the home test doesn’t really indicate what range of parts per million (or whatever equivalent measurement) a “Medium” would be, it does give recommended amounts of fertilizer to apply based on each result, and they recommend supplementing the soil at every level except “High.”
Therefore, in the case of this home test, getting back a result that is within the highest level is apparently ideal, anything below that must be below optimal since they recommend adding amendments to the soil at all those levels. The makers of this test don’t seem to be concerned about the possibility of having “too much” of any of these three nutrients. I assume there must be instances where you can have too much of a given nutrient, but this test wouldn’t really tell you that.
At any rate, it looks like my soil needs quite a bit of a boost to get to where it needs to be nutrient-wise. Which surprises me, because I add plenty of good compost to my garden every year. Anyway, I am going to keep an eye on this and see if there are other natural amendments I can add to my soil that will improve these numbers, and I will report back in the spring on the results of my clover cover crop and whether that has improved my nitrogen levels.
For more green growing and gardening tips, visit the Yard and Garden section.