Making Potting Soil from Garden Soil

Making Potting Soil from Garden Soil
I have long been interested in the idea of making my own potting soil. I have an abundant source of soil in my back yard and it seems like there should be some way to make it usable as potting soil indoors and out. This would allow me to cut back on the number of plastic soil bags I have to throw away every year, eliminate the use of peat (which is really problematic for the environment as I will explain later) as well as save me some money. So I decided to try making potting soil from garden soil.
What is potting soil?
Most potting soils do not contain any natural soil. They are typically a blend of peat moss (or coconut coir), perlite or vermiculite, sand, limestone, and fertilizers. They are generally light and drain well, and are sterile so that they don’t harbor any diseases. A good potting soil will have all the necessary nutrients and properties for potted plants.
The Problems with Potting Soil
One of the biggest environmental issues with potting soil is the peat moss. I’ll probably do a deeper dive into the problems of peat moss in the future, but mostly you just need to understand that it comes from peat bogs, and the process of harvesting the peat releases a lot of CO2 into the atmosphere. The U.K. is banning the commercial sale of peat in 2024, and there is a movement to stop the practice worldwide.
Most of the alternatives to peat have their own issues and anything that has to be shipped from hundreds or thousands of miles away is always problematic. And most DIY potting soil recipes you will find online are really just mixing together the various ingredients found in a typical store-bought bag of potting soil. So you’ll have the same issues with using lots of plastic bags and incorporating harmful peat or other amendments shipped long distances.
Will this even work?
Before I even begin this process, I know that if there is a gardener reading this, they are probably already yelling, “No No NO! You can’t use garden soil as potting soil!”
I do realize that garden soil is not ideal for use as potting soil and probably won’t grow plants as vigorously as good potting soil will. But I have been improving my soil for years via composting and other natural methods, so even if it’s not the ideal potting medium, I want to see if I can make it workable at all after sterilizing it and mixing in a bit of vermiculite to keep it from being too heavy.
Garden Soil to Potting Soil – My First Experiment
The first thing I knew that I needed to do was sterilize the soil to ensure that there are no insect eggs, fungi or other potential diseases in it. There are several methods you can use to sterilize soil, including heating in the oven or using hydrogen peroxide. I decided to use the boiling water method, as that seemed the simplest. Spoiler alert: I probably would not use this method again in future. I’ll explain why at the end.
Step 1: I dug out some good garden soil, picked out any twigs, rocks or large worms and left it sitting in a large sieve for about a day so that any remaining critters could hopefully vamoose.
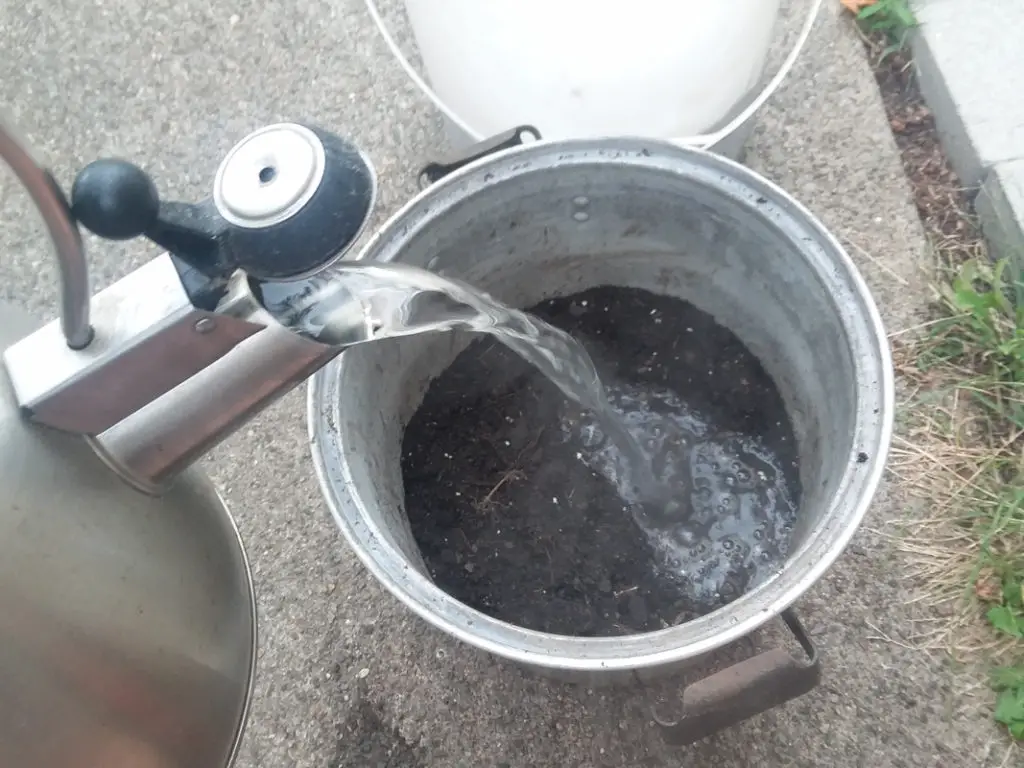
Step 2: I put the soil in an old large metal pot that we don’t use for cooking anymore and then poured enough boiling hot water over it to make a sort of “dirt soup.” (I don’t recommend putting boiling water into a plastic bucket, it might melt. Glass may crack unless it’s really heavy duty Pyrex or tempered glass.) I stirred it up a bit to make sure all soil was fully soaked and submerged in the water. Left it to cool.
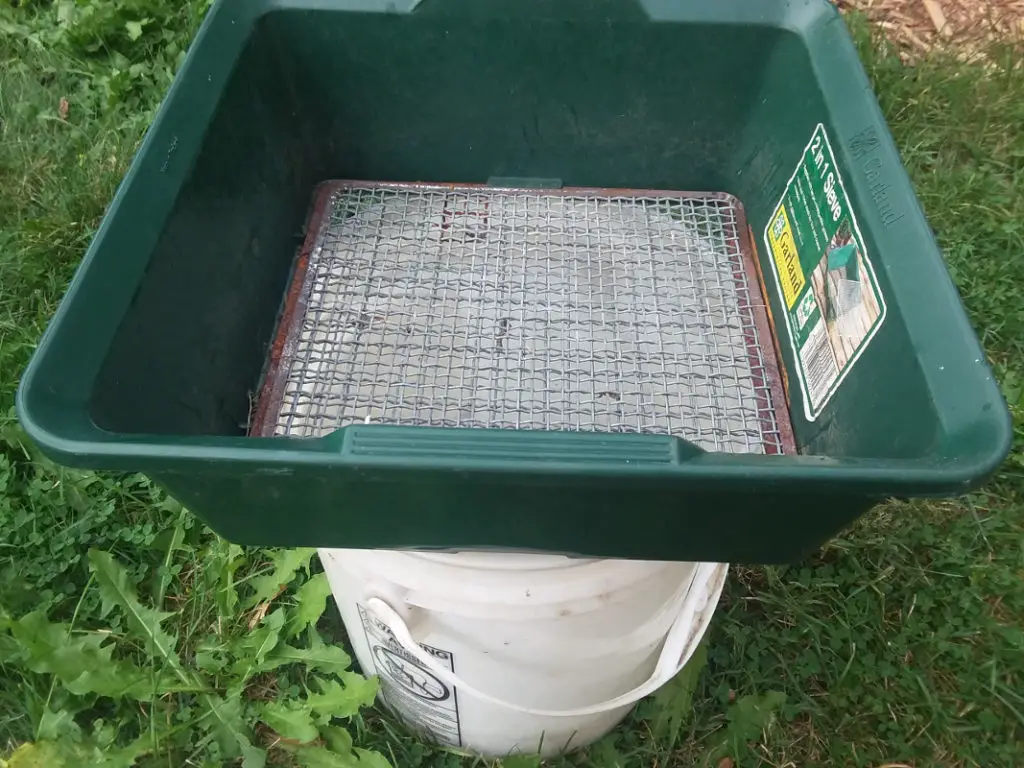
Step 3: Once it had cooled, I needed to strain off the water. I happened to have a compost sieve (above) so I set this on top of a plastic bucket to catch the water. I then took an old piece of cloth to line the sieve to create a strainer.
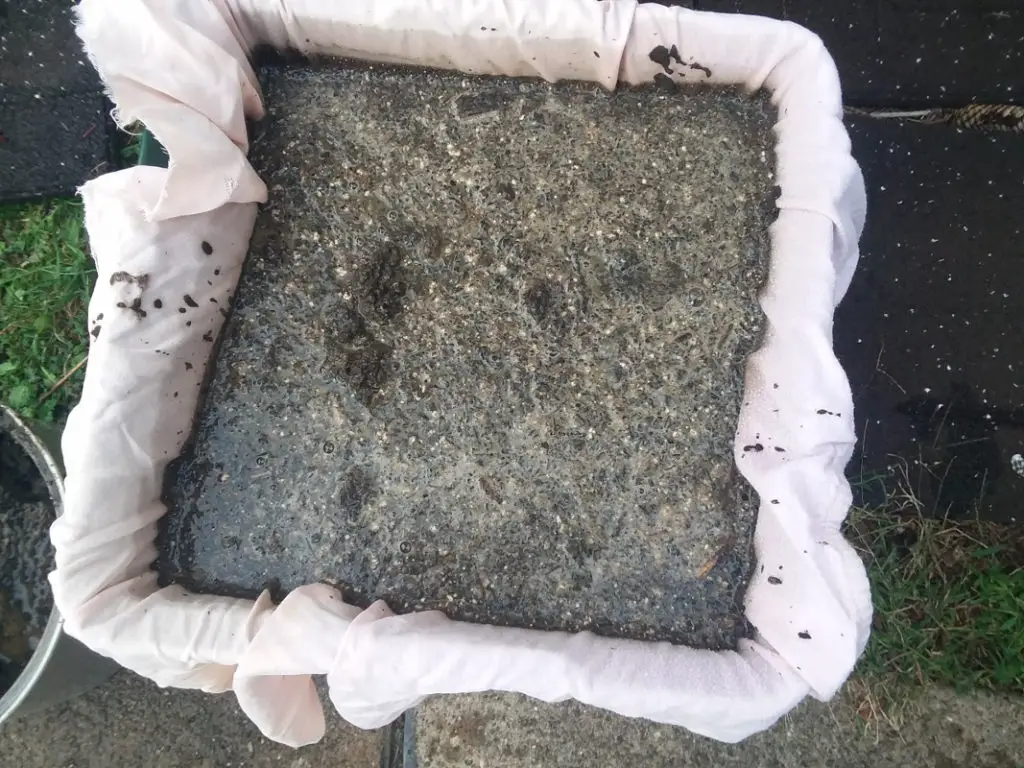
Step 4: I dumped the wet soil into the strainer and left it to drain. It was super slow, so I left it in my garage overnight so no animals would get into it. It took about 24 hours to completely drain out. (I happened to have some old flannel sheets, but I wish that I had used a thinner fabric to strain this, cheesecloth probably would have been ideal.)
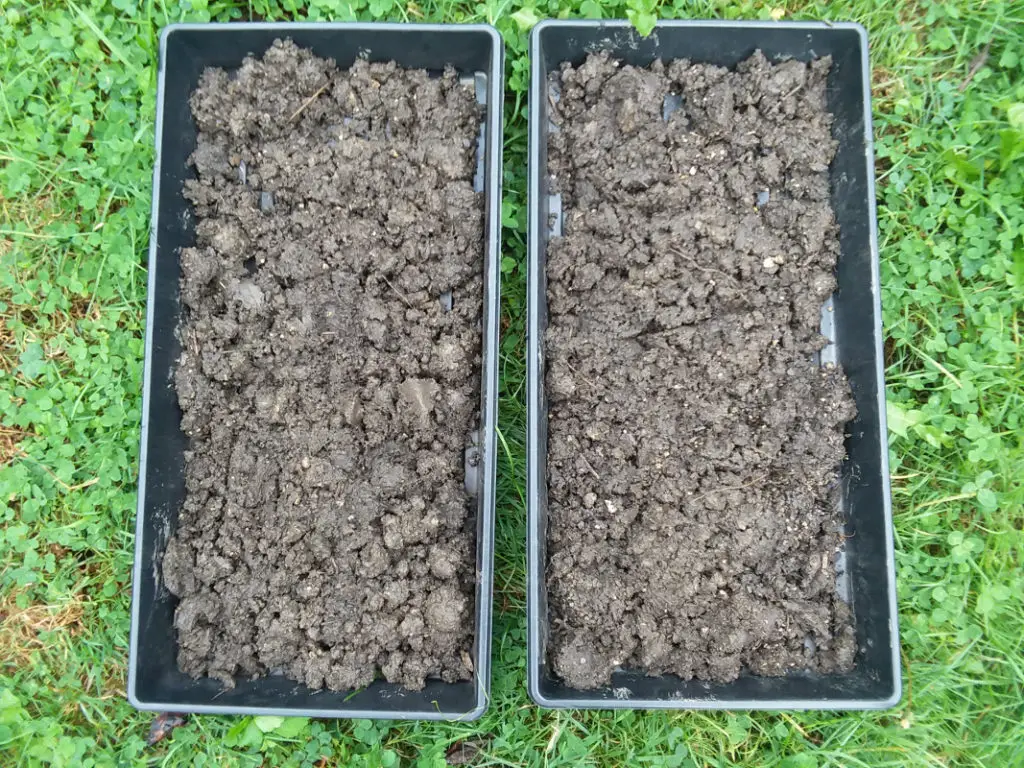
Step 5: I dumped the strained dirty water back into my garden and I dumped the soil into a couple planting trays to finish. It was still quite wet at this point, so I put them on a shelf in the garage to dry out completely. It took much longer than I expected. This was probably due to the fact that it was late October and not very warm out (our garage is detached and unheated), plus the fact that I have heavy clay soil which really holds on to the water.
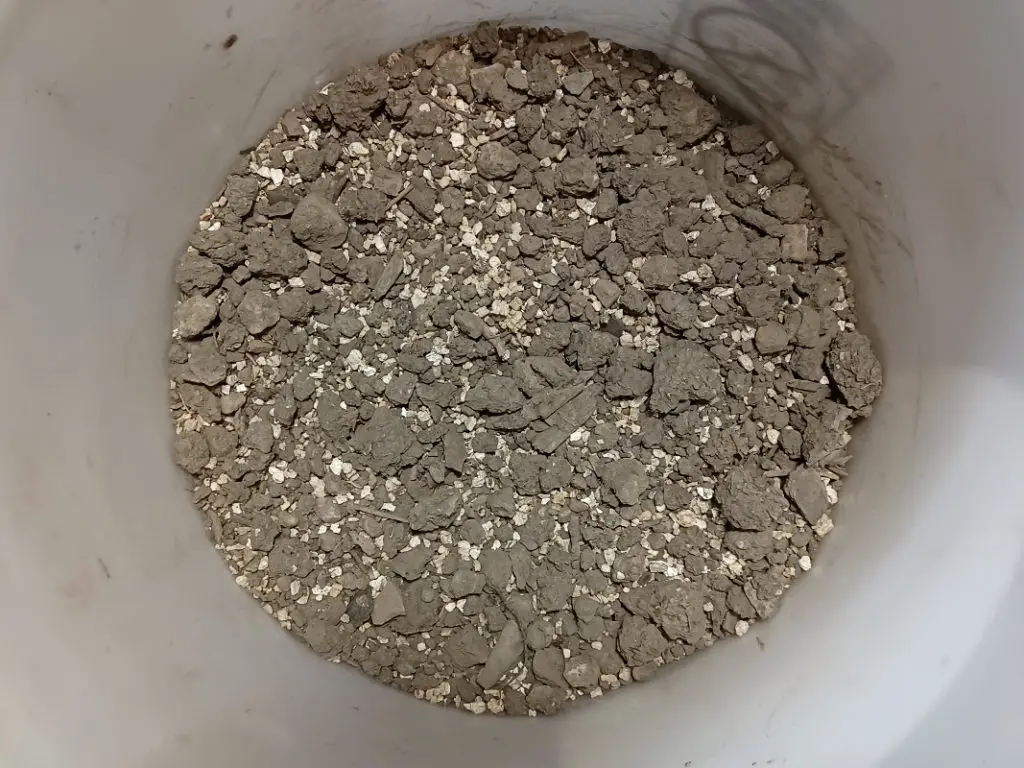
Step 6: After about a week, it was finally dry. I did my best to crumble up the large clumps to make the soil more manageable. Quite frankly, it was difficult. I almost needed a hammer or something to really break it apart thoroughly. Again, this is likely due to the high clay content in my soil. Then I added some vermiculite to make the entire mixture a bit lighter and hopefully allow for air flow. Here’s what the final product looks like:
Takeaways:
I’ll be honest, I’m not thrilled with the result. The color of the soil doesn’t look good anymore. You can see in the first photo where I was pouring in the boiling water, the soil was nice and dark and rich. I realize now that using boiling water probably leaches out a lot of the nutrients. Plus which, with my clay soil it seemed to create a major clumping effect and the soil clumps are much harder than before the sterilization. I’m still going to try growing with it and see what happens.
Update: See the surprising results of my experiment to grow indoor plants in garden soil!
The next method I am going to try for sterilization will be making a small outdoor solar cooker to heat the soil that way. I think that will allow me to retain more of the nutrients and keep the natural soil texture. I think it will also be considerably easier than the process above. But I will have to wait for much warmer weather to proceed with that.
Anyone out there tried to use garden soil as potting soil? Any victories or tips? Please let me know!



This is oh so interesting! Excited to see how other attempts go!
Thanks Maureen! I also look forward to trying some other methods to make this work.