Making a Wire Compost Bin – Easy!
Making a Wire Compost Bin – Easy!
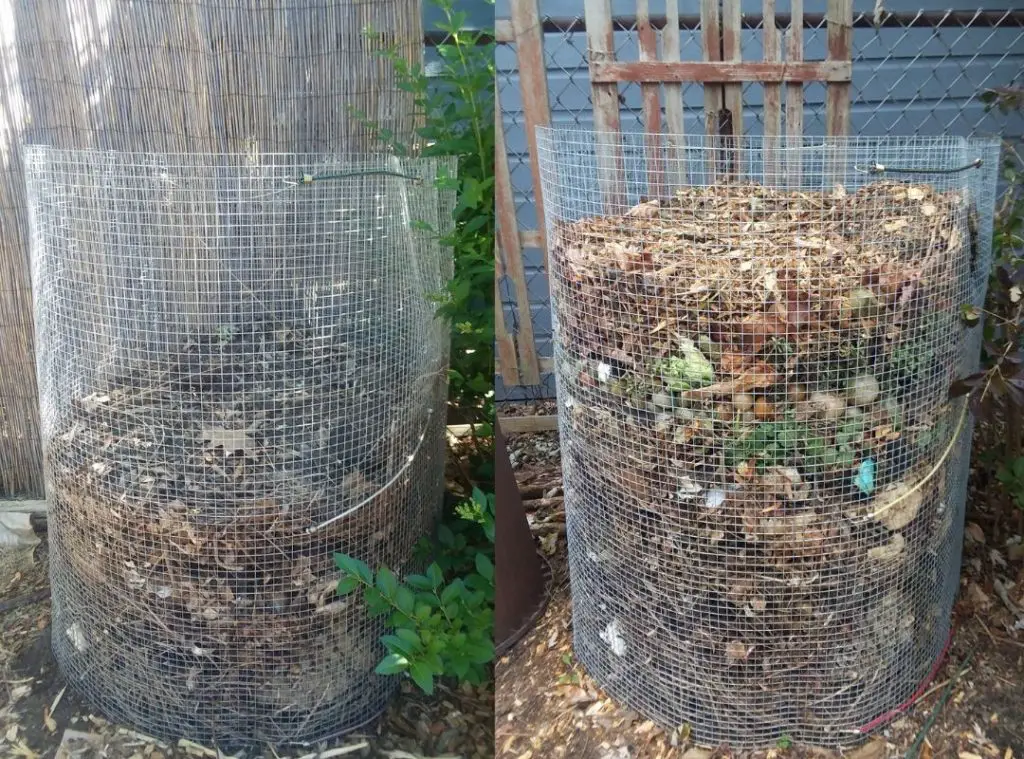
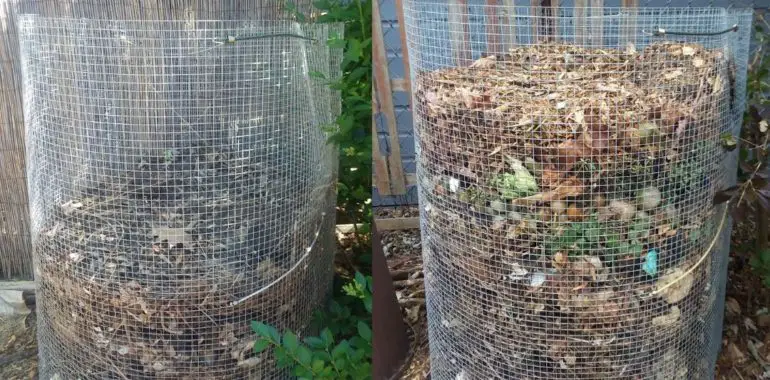
If you are like me, you want to compost but you don’t want to spend a lot of time on it. I am also not particularly handy or good at building stuff. That’s why I love my new wire compost bins. They are super easy to make, plus they’re sturdy, long-lasting and low-maintenance.
My old DIY tumbler compost bins
For the last six or seven years, I was using a couple modified plastic bins to do my composting. I set up an old trash can to be a homemade compost tumbler by drilling some holes into it and attaching the lid with mini bungees so I could roll it from time to time and toss the compost to (supposedly) speed up the decomposition process. Here’s my old trash can compost bin:
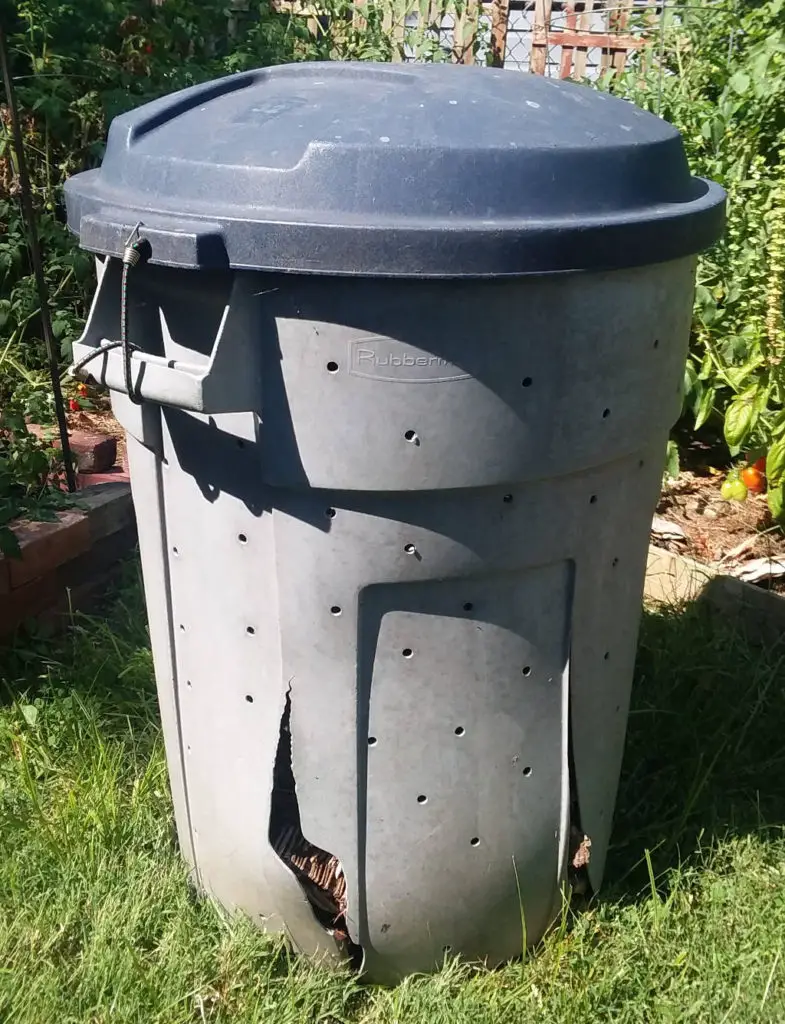
It worked…okay. As you can see, it is getting some serious cracks that keep getting bigger. And it was rather difficult to roll, because when even half-full with food scraps and so on, it is quite heavy. The top wouldn’t quite stay on during rolling, and compost and other scraps would come falling out, and I’d usually end up crawling with ants and bugs. (And doing a lot of swearing.)
Plus, I felt like the holes weren’t really adequate for proper air flow, and it just didn’t hold enough compost. I had a second bin that I would start filling once this first one was full, but still I didn’t have enough room for everything. Plus the second one was also cracking apart. As fall is approaching and I will soon be trying to dispose of lots of yard waste, I knew I needed to do something different quickly.
Making an easy wire compost bin
After making a visit to Rust Belt Riders, a local food composting business, I decided to follow their advice and switch to an easier lazy composting method using two wire compost bins made of hardware cloth (aka wire mesh or galvanized fencing). I found these at Lowe’s which I thought were just about an ideal length of 3 feet high and 10 feet long.

FYI, these cost me $15.97 a piece, and if all goes well, they should last a good long time. You could buy one roll of 25 feet of hardware cloth/wire mesh fencing and cut it to size, but the wire is pretty thick and I really didn’t want to deal with that, so these are nice. (I did ask an associate if they offer cutting the fencing as a service, but he said they only do that if they are installing it for you.)
Note: Do not try to use something flimsier like chicken wire. I tried that years ago because I knew it would be easier to cut to size, but it was rusted by the end of the year, and not sturdy enough to stay upright.
The plan is to have two of these wire compost bins, fill one and leave it to rot, then by the time the second one is full, the first one should be fully decomposed. I don’t have much room in my garden right now due to my sprawling tomato plants, so I am just making one today. Here is the process.
Building the compost bin
First of all, make sure you have a sturdy pair of gloves. One end of this hardware cloth has a bunch of cut ends, and they are sharp. Be careful!

The hardest thing about this whole project was just getting the hardware cloth rolled out and flattened enough that you could work with it. This stuff REALLY wants to keep rolling back up into a tight coil. Plan enough time that you can leave it somewhere to flatten for at least a few hours. This unrolling part is where you need to be careful because if you let go, it will whip back into its roll and could hurt someone (like you or whoever is helping you). I put some heavy pots and things on each end and left it like this for a while:

Once you can take those items off without the roll trying to fling back and wind itself back up, you can start to work with it. Simply stand it upright and create a cylinder with as much overlap as you want. No overlap if you want the base to be as wide as possible, more overlap to make it narrower. I don’t have much space in my yard, so I overlapped the wire mesh a bit so that it wouldn’t be too wide to fit my space. If you make it too narrow though, it may tend to fall over when it gets full to the top, so give it a wide enough base to be stable.
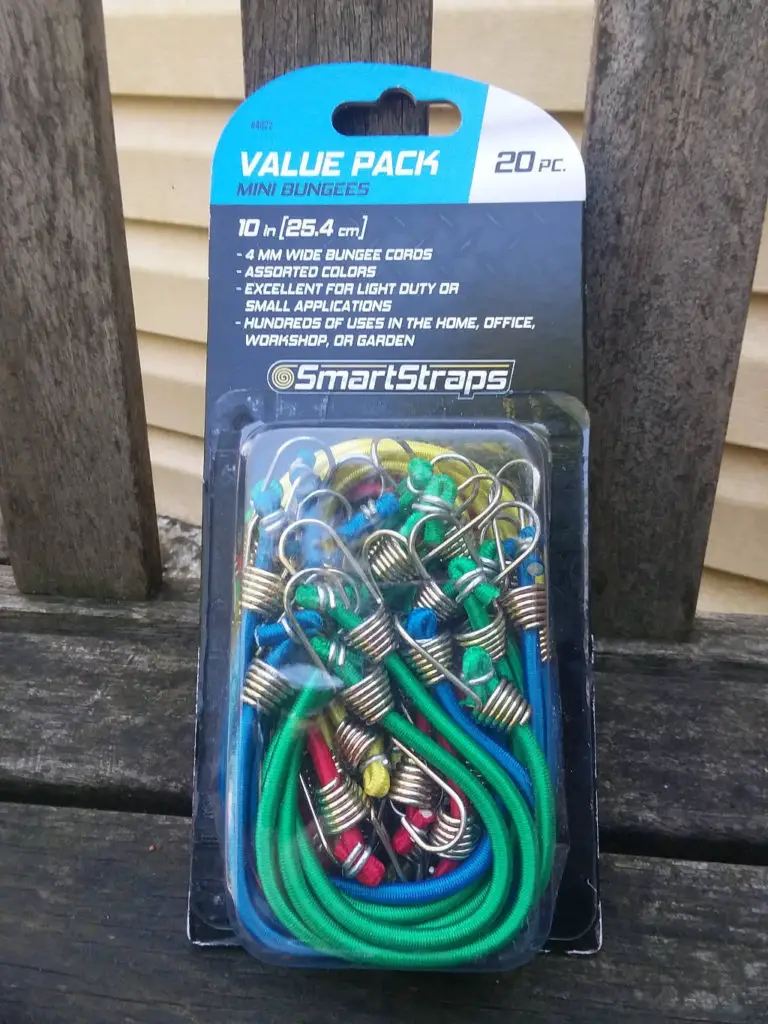
Then I used a few of these handy mini bungee cords to hold it together. You could also probably just tie it with rope, string or wire.
The finished product looks like this:

I put it in my garden in place of the old compost bin, and started throwing stuff in. I love it! It holds much more than my old one and should be lower maintenance.

I am going to follow Nathan at Rust Belt Rider’s advice and layer in wood chips and leaves with my food scraps. His recipe was 1 1/2 times as many wood chips as food scraps, and you’ll have beautiful compost! We luckily can get wood chips for free here from the city. I plan to keep my old trash can compost bin filled with wood chips and another old trash can filled with dry leaves that I can layer over the food scraps throughout the year.
Once my tomatoes are done and out of the way, I’ll build the second bin and set it next to this one. I still have a decent amount of room in this first bin but once I start getting rid of all the dead fall stuff and raking up leaves, I’m sure I will fill this easily and want the second one.
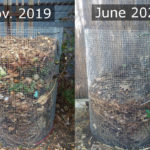
Update: Visit my new article from June 19, 2020 where I give an update on how these bins are working out!
A note about lazy composting with a wire mesh bin:
When I got this hardware cloth home, I saw this notice on the bottom of the label:

Umm…what??? I did NOT like the looks of this and wondered whether I was going to have to scrap the whole project. But after doing a little research, I discovered that California puts this notice on a LOT of stuff in an abundance of caution. And in this particular case, the risk of harmful health effects is probably quite low. I found this article on the safety of galvanized wire on Mother Earth News, and decided that if they didn’t think it was a risk, and if Rust Belt Riders recommends it, I feel okay about using it. But do your own research, cuz I ain’t a scientist.
Just getting started in composting? Check out Composting 101, our easy intro guide to composting for beginners.




As a Californian, I can say we’ve learned to totally ignore Prop 65 warnings. They’re literally everywhere. Every product we buy, every store we visit, has one of those warnings. Life causes cancer and reproductive harm, apparently.
Thanks, Kiryn! That’s good to know so that we can take the warning with a grain of salt.
Did you bury the wire in the ground at all? Did it blow around ever?
Hi Maureen, I don’t bury it. It’s a very open mesh so the wind blows right through it. That said, there was one time after I emptied it and left it to sit for a while in a corner of the garden while I was still filling up the other bin that a really strong storm came through and it blew over because it was completely empty. Once you have at least couple inches of material in there, it shouldn’t go anywhere, it’s quite stable. But if you are concerned, you could bury it a little or stake it down.
How do you empty it?
Hi William, once the materials inside have fully decomposed, it will be less than a foot deep, so you can just pick up the wire bin and lift it off and set it off to the side. Then you can use a shovel to spread the compost around.
I’m guessing this would only work in dry climates.. would get too much moisture in the Pacific NW if you keep your composts going in the winter..
Actually, it’s pretty wet where I live in Northeast Ohio, and this works great.
Hello,
Wondering do you know what the gage of the wire is?
Thanks
I’m not sure, they don’t seem to carry this brand at Lowe’s anymore, but based on some similar ones I found online, maybe 19 gauge?
How do you “stir” the compost? Or do you just let it sit??
Thank you! I’m excited to try this!
Personally, I just let it sit. You can try to stir it, but I find it kind of difficult and heavy. If you don’t stir, it just takes a bit longer.
Love this idea. Simple. No construction. Just wondering how long did it take your material to break down?
Hi Laura, once I stopped putting new materials in, it took about a year to break down.
I get about 50 to 100 gallons of grass clippings depending on conditions every 7-10 days. Had been using it in the garden for mulch but am going to stop that as I had a tomato fungus last year and burned a layer of leaves on it to hopefully kill the fungus.
The post above mentions a 1 1/2 to one ratio. With this volume of grass is that going to affect or cause any problem with the kitchen scraps ?
If the grass clippings are dried out, I think you’ll be fine. I wouldn’t put a ton of fresh grass clippings in your compost though.
Does this need to be in any sort of specific sunlight or shade requirements? I tried a plastic bin last year and shock it every week had amazing worms and bugs breaking stuff down but I had to water it like crazy cuz the site I found it on said keep it in the sun or it would mold badly. I’m in 7b SC so it rains quite a bit but also very hot in the summer. L9ve this idea and wanna try it but want to make sure I set it in a good spot. Thanks!
I have mine in the shade. I don’t find that it ever gets too over-soggy because it is so open and drains easily.