Composting 101
Composting 101
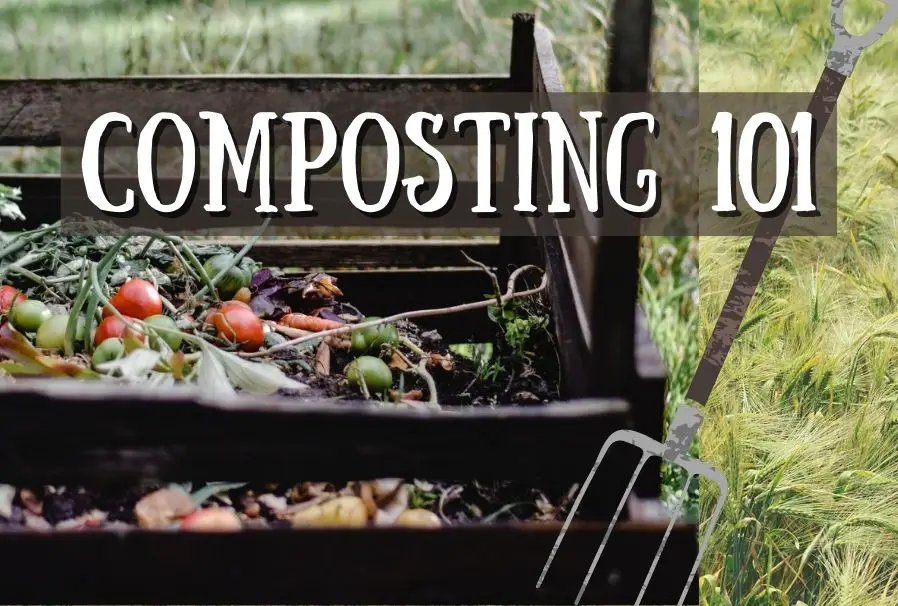
If you’ve never done any composting of your food scraps and yard waste, you may be intimidated to start, but don’t be. The process isn’t that complicated. Let’s jump right in with an intro to composting!
Why Compost?
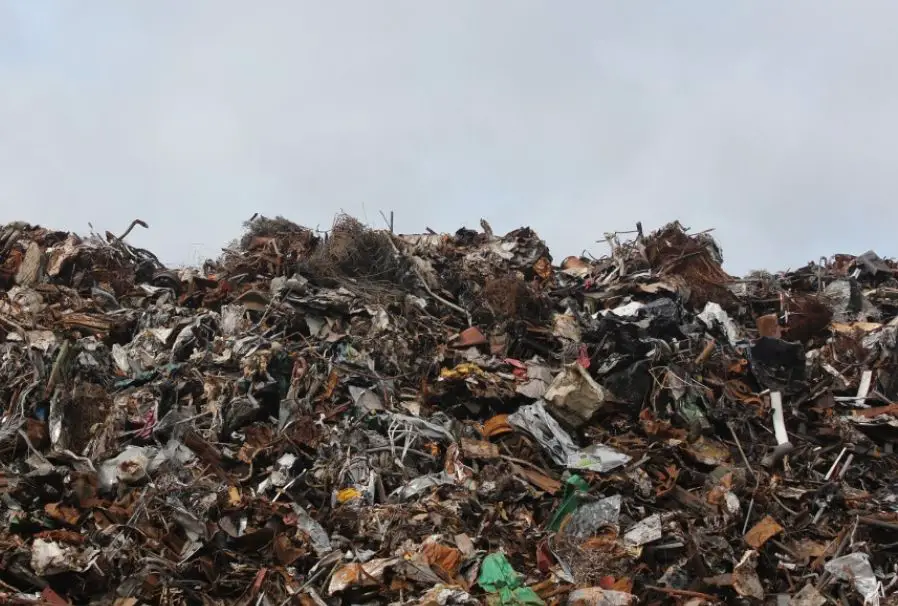
In the U.S., 80 BILLION POUNDS of food is thrown away every year! When that food ends up in the landfill where it is deprived of oxygen and cannot break down properly, it creates methane, a far more powerful greenhouse gas than carbon dioxide. Composting your food and yard waste is a great way to help fight climate change.
Compost is also great for your soil. Not only will you see better crop yields and eliminate the need to apply fertilizer, but creating healthy soils are another way to trap carbon in the soil and fight climate change. See this article on carbon farming.
Composting Basics
The first thing you need to do is decide what kind of compost bin you have room for and what will work best for you. If you do not have any outdoor space like a yard, check out my article, Composting for Apartment Dwellers.
Types of Compost Bins
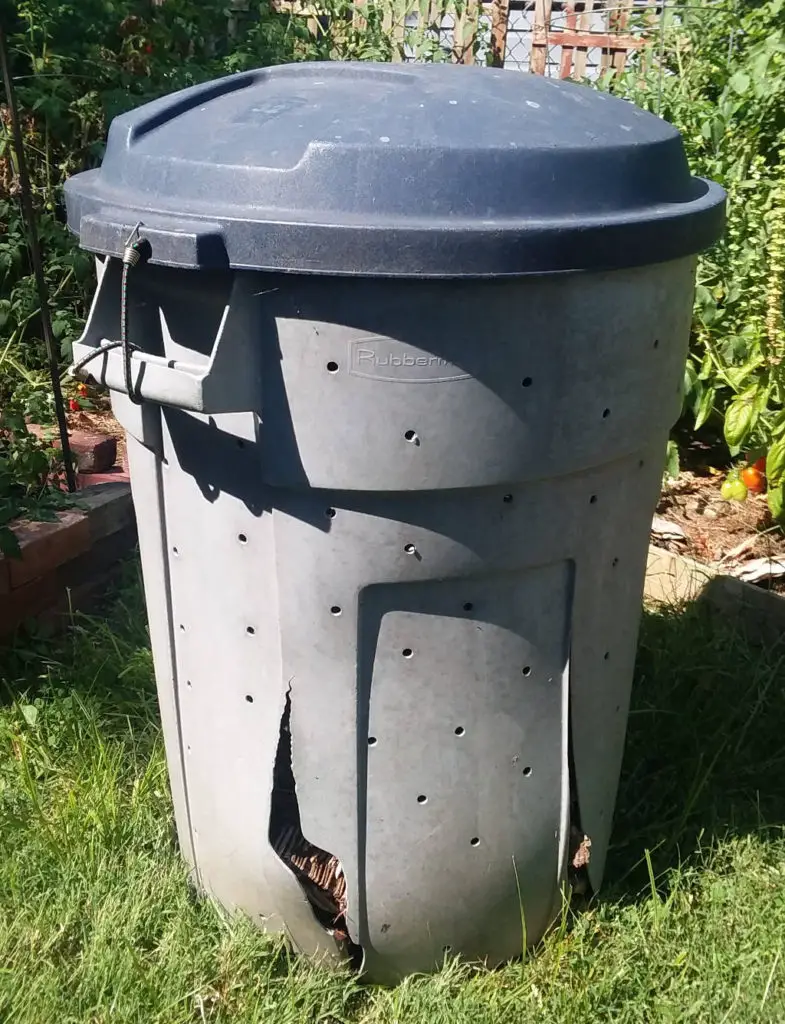
For outdoor composting, you don’t necessarily have to have any bin at all, you could simply start a pile in a corner of your garden or yard. But most people find it keeps things a little neater to at least buy or create some sort of structure to hold their compost. Some of your options include:
- Commercially-made tumbling bins;
- Commercially-made stationary bins;
- DIY bins made from untreated wood, cinder block, wire fencing, bricks, old trash cans, etc.
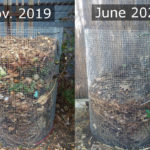
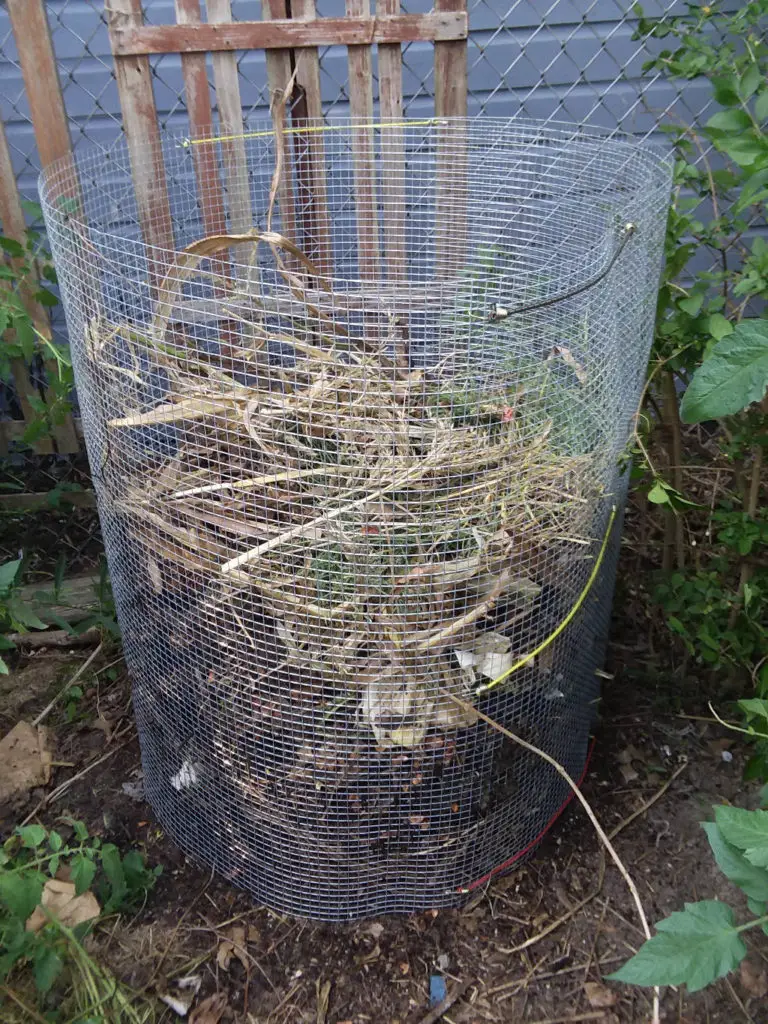
I used to have a DIY tumbler style bin I made from an old trash can (photo above), but now I use a couple bins made from pre-cut galvanized wire fencing (photo below), and they have been working out well for me. Instructions on making these easy wire fence compost bins here.
How to Choose the Right Compost Bin for You
There are a number of considerations when choosing a compost bin. How much material you will be composting, how much space you have, whether your yard is prone to attracting wild animals, how much work you are willing to invest and how fast you want your compost to be finished.
The plastic tumbler bins create compost the fastest and are the most secure from keeping critters out, but they are expensive and they may not hold enough materials if you plan to compost a lot of yard waste for instance.
Compost Bin Factors to Consider
Size – DIY bins can be whatever size you like, although it is recommended that you keep them to no more than 3 feet wide, otherwise the center will get deprived of oxygen and your compost may become smelly or stop breaking down. If you need more space, it’s better to just have several piles rather than one giant one.
Light – The worms and other organisms that eat and break down your compost materials prefer the dark, so a closed, dark bin will produce finished compost more quickly than an open bin that is exposed to more sunlight.
Turning/Tumbling – If you tumble or turn your compost with a pitchfork regularly, it will break down faster than if you have a static pile. You don’t want to tumble it too much, that will disturb the ecosystem in there, but an occasional turn helps introduce more oxygen.
Building Materials – A wooden bin (be sure to use untreated wood) will eventually rot away and the wood will need to be replaced. A bin made from galvanized wire should last longer. A bin of cinder blocks or something similar will last indefinitely.
Pests – I don’t personally care all that much if a raccoon or mouse gets in my compost once in a while, but if you live in an area where you have concerns about attracting predators like bears, you should probably invest in a secure bear-proof bin.

Picking a Good Site for Your Bin
It’s a good idea to put your bin near where you will be using it, usually the garden. I don’t find that my bin is particularly smelly, but you probably don’t want it right next to your window or door. Ideally you’ll want to also place it somewhere that it won’t bother your neighbors by sight or smell.
If it is an open bin, a shady area is a bit better than a sunny one. (The worms and microorganisms prefer the dark.) You’ll want a spot where it can get some rain or watering from time to time.
In the winter, if you don’t want to have to walk your food scraps out to the compost heap every day, you could get a secure lidded bucket that sits under your sink, in the garage or outside your back door for storing food scraps for a few days until you get a chance to take them out.
What to Put in Your Compost Bin
To produce good compost, you need a balanced mix of green (nitrogen-rich) and brown (carbon-rich) materials. If you put in nothing but green materials like food scraps, your pile will be too wet and become smelly and slimy. If you use nothing but brown materials, your pile will be dry and take a long time to break down.
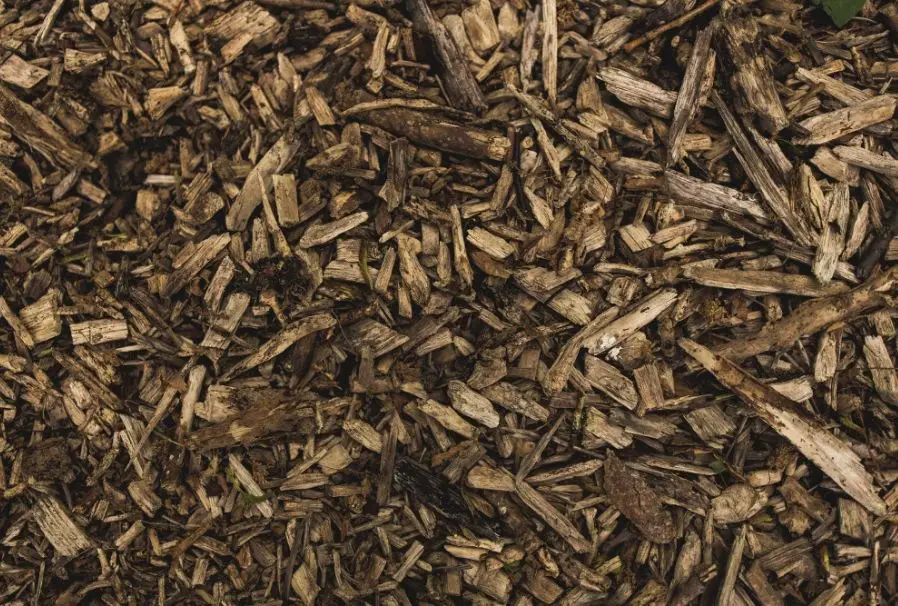
Brown (carbon-rich) compost materials include:
- Leaves
- Straw
- Paper/cardboard
- Wood chips
- Sawdust
- Pine needles
Green (nitrogen-rich) compost materials include:
- Food scraps
- Grass clippings
- Manure
- Coffee grounds
- Seaweed
- Freshly dead plants
I could get more technical here and discuss the ideal carbon to nitrogen ratio and how much carbon and how much nitrogen each different material has, but you don’t need to understand any of that to make great compost. All you really need to do is pay attention to your bin. If it becomes too wet and smelly, mix in more brown materials. If it seems too dry, hold off on the brown stuff for a while, and add more green materials.
The greater variety of items you have in your bin, the better, but even if you mixed nothing but dead leaves with potato skins, you could make pretty good compost as long as you keep an eye on it and don’t add too much of one or the other.
DO NOT put animal products, any waste with chemical cleaners or toxins on it and so on. Click here for a more complete list of what NOT to put in your compost bin.
Managing Your Compost Pile
If you will be composting lots of food scraps, it’s a good idea to keep some brown materials set aside for layering in from time to time. I personally keep two lidded trash cans next to my compost pile, one filled with leaves I raked up in fall / spring, the other filled with wood chips (our city has piles of wood chips from tree maintenance that are free for us to take).
After I have created a pretty thick later of food waste, I throw in a layer of leaves or wood chips. Or if I dump in anything particularly wet, smelly or rotten, I will also cover it with some leaves, and that keeps the pile from becoming offensive.
Watering Your Compost
If you are using an open compost pile, it may have a tendency to dry out. Ideally you want your compost to stay moist but not soggy. To keep it functioning well, you may need to add some water occasionally.
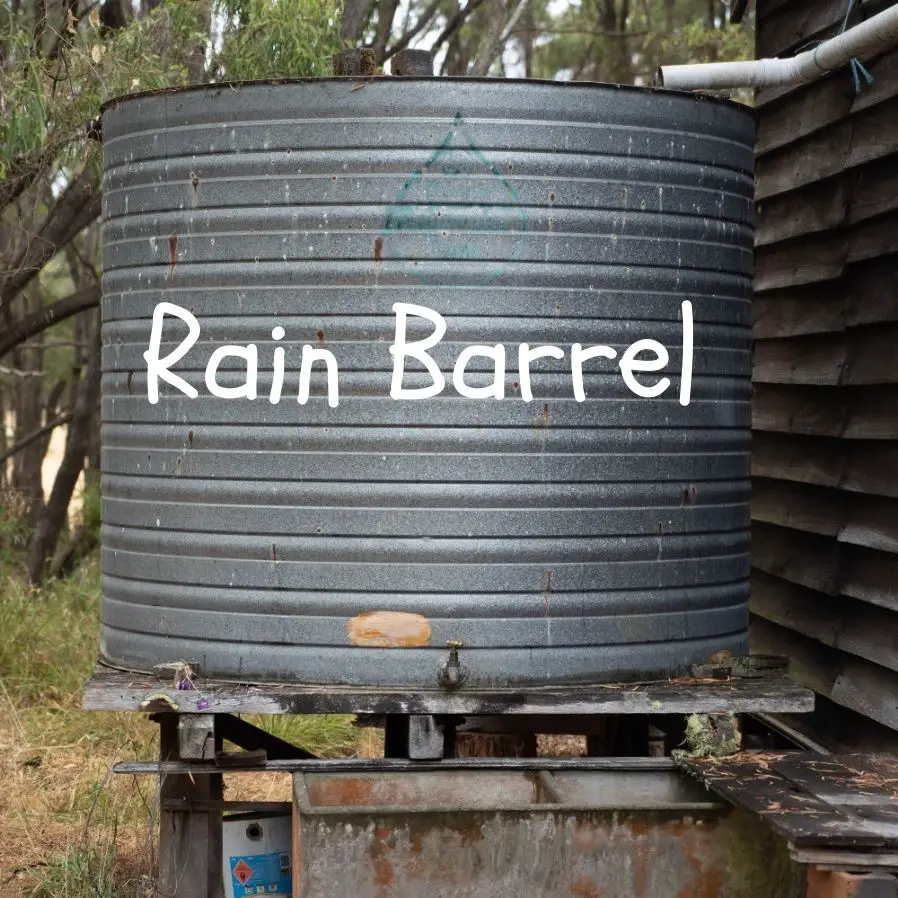
If you have a rain barrel water catcher, this is great for your compost. Natural rainwater is ideal for watering your pile. Untreated water from a well, spring or river would be fine as well.
The problem with tap water and compost
On the other hand, water out of the tap has either chlorine or chloramine in it. These additives are important for killing off microorganisms that would be dangerous for you to drink. Unfortunately, they will also kill a lot of the bacteria and fungi in your compost, slowing the breakdown process.
There are ways to treat your tap water to neutralize the chlorine or chloramine. First you have to determine which one is in your water supply. You may have to contact your local water department to find out.
If you have chlorine in your water, you can simply fill a bucket and leave the water out for about 24 hours, stirring it a few times during the day. That will allow the chlorine to dissipate. If you have chloramine in your water it’s a bit more challenging, but this gardener at Plant Abundance has a pretty simple solution:

If you decide this is all too complicated, you could just allow the rain to do its work. Your pile may dry out occasionally but it’s not the end of the world. Your compost heap will simply take a bit longer to finish breaking down.
How Do I Know When My Compost is Finished?
It’s tough for your compost to ever “finish” if you keep adding fresh materials to it, so it helps to have two bins going. Once my first bin is full, I stop adding new materials and leave it to sit and rot for about a year (I do lazy/slow composting so it takes longer than yours might if you are turning regularly in a dark enclosed bin). By the time my second bin is full, my first bin is done composting, so I dump it out and start filling that one again.

When your compost is completely broken down and ready to use, it will look, feel and smell like good, rich garden soil. Spread it around in your garden beds and let it do its work!
Note: Fresh compost can be a bit strong for plant roots, so don’t use it straight up as a potting soil substitute. It’s better to think of it as an amazing organic fertilizer. Mix a little into your pots or add a layer to the top of your garden soil so it can soak in gradually throughout the summer every time it rains.
More Composting Tips

Check out some of our other articles for answers to specific composting questions.
- Compost Your Way to Zero Waste (Stuff You Didn’t Know Was Compostable)
- Top 10 Things NOT to Compost
- Lazy Composting with Hardware Cloth Bins
- Composting for Apartment Dwellers
- Can I Compost Coffee Filters?
- Should You Compost Tea Bags?
- Recycle or Compost Cardboard – Which is Greener?
- Can I Compost Chicken Bones?
