Easy No-Sew Fabric Flower Basket Liners
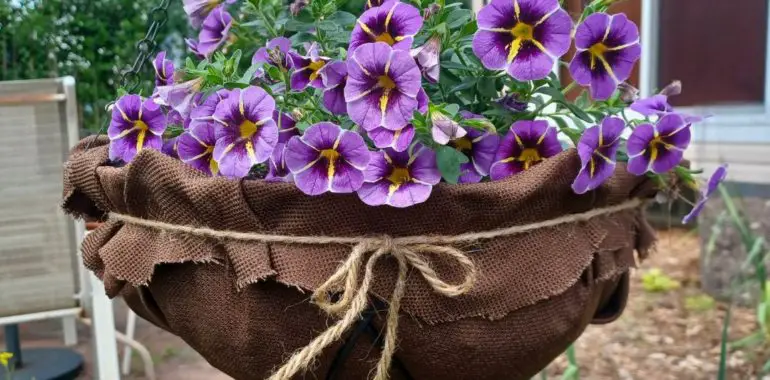
Easy No-Sew Fabric Flower Basket Liners
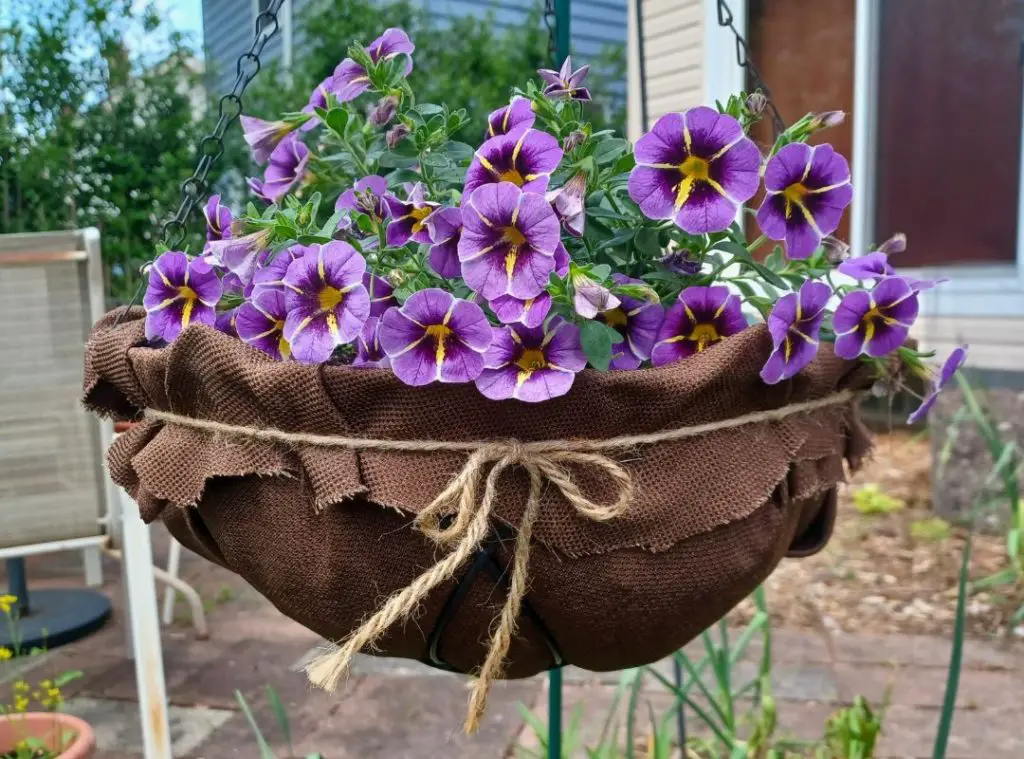
I really hate the look of plastic hanging baskets, but the problem with the nice metal wire baskets is that you have to keep buying new liners, usually every year. I have been trying to come up with more sustainable basket liners I can reuse and I think I found a winner. I am going to show you how to make some rustic style and super-easy fabric flower basket liners that can be washed and reused next year, no sewing skills needed!
Why make fabric flower basket liners?
Flower basket liners are usually made with coconut coir and have a few issues. One, suppliers of coco coir claim that it is sustainable and eco-friendly, but if you live in the United States, the coconut fiber has to be shipped from very far away, and any product that requires long shipping distances isn’t great for the environment. Plus, I find that these types of liners allow water to pass through so easily, that your flowers are constantly dry and in need of watering. I also find that between the birds trying to pick the liners apart to use the fibers in their nests, and plain old decomposition over time, that they are tough to use for more than one season. Or at least they don’t look too great the second season. So I’ve been searching for some less wasteful alternatives.
I tried a few other methods for making my own basket liners last season. I actually tried to make papier-mâché liners. That was a disaster, they disintegrated after a few weeks. Then I tried lining the baskets with brown paper, but those did not hold up well either.
So far, these fabric basketliners are working out quite well. I’m always looking for ways to waste less and create less work for myself. These were pretty easy and believe me, I am not very crafty or handy with tools. If I can make these, so can you! So here are the instructions. (This tutorial assumes you already have some metal wire hanging baskets to use.)
Making Fabric Flower Basket Liners
You will need:
- Fabric
- Safety pins
- Twine
- 2 plastic grocery bags
- Scissors
Choose your fabric
I didn’t have any appropriate fabric lying around the house, so I visited a couple thrift stores and found an old brown tablecloth for a few bucks. It was sturdy, but still pliable. The cut edges may unravel a bit, but that’s okay because I’m going for a rustic look. I also chose a darker brown color, because something like tan or beige will be more likely to show dark soil stains as the season goes on.
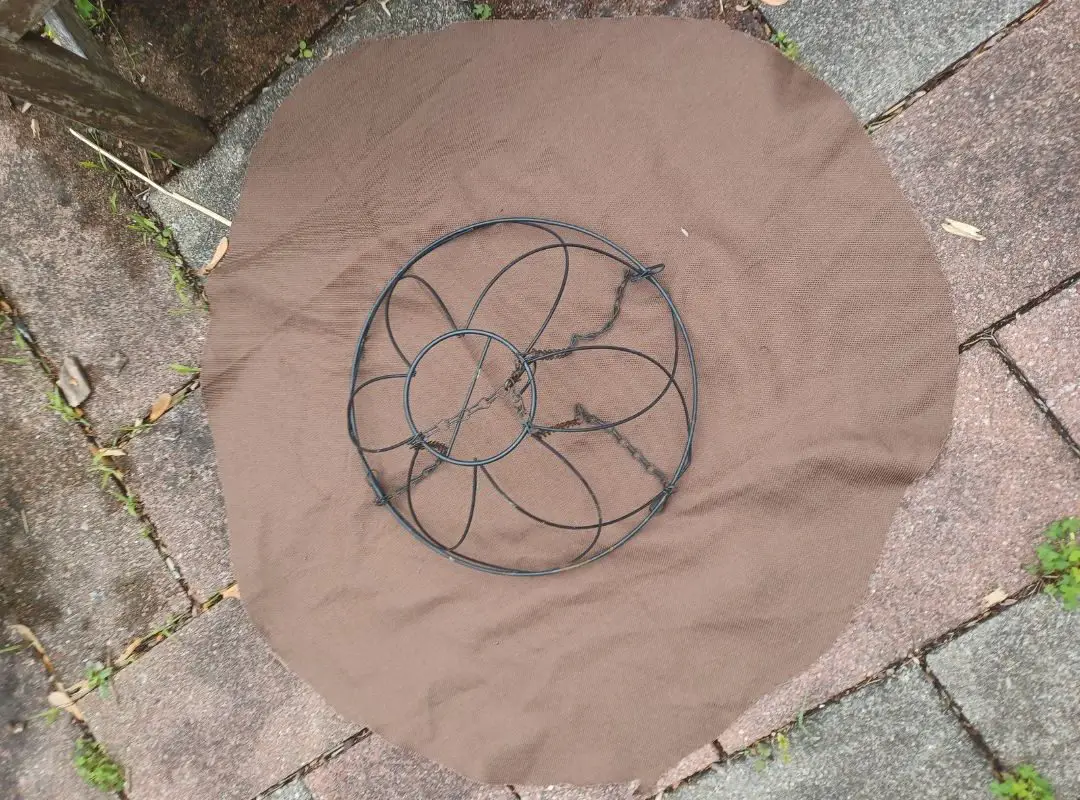
Step 1: Cut the fabric into a large circle.
Lay out your fabric and cut a circle of fabric considerably larger in diameter than the basket. You need enough to overlap the edge of the basket so it can be pinned into place. (I misjudged on the first one I did and didn’t leave enough excess. Once I set the fabric into the basket, it no longer overlapped.) Be generous, you can trim off any excess at the end. See image below for an idea of how big it needs to be.
Step 2: Pin the fabric to prevent slipping.
Now lay the fabric inside the basket. It helps to set a small object or bowl inside the basket to hold the fabric down while you work. I used a clay flower pot tray. Working around the edge, pin the fabric in place with safety pins. This will hold the fabric so that it will stay in place and doesn’t bulge or fall through the openings in the wire basket. It will look like this:
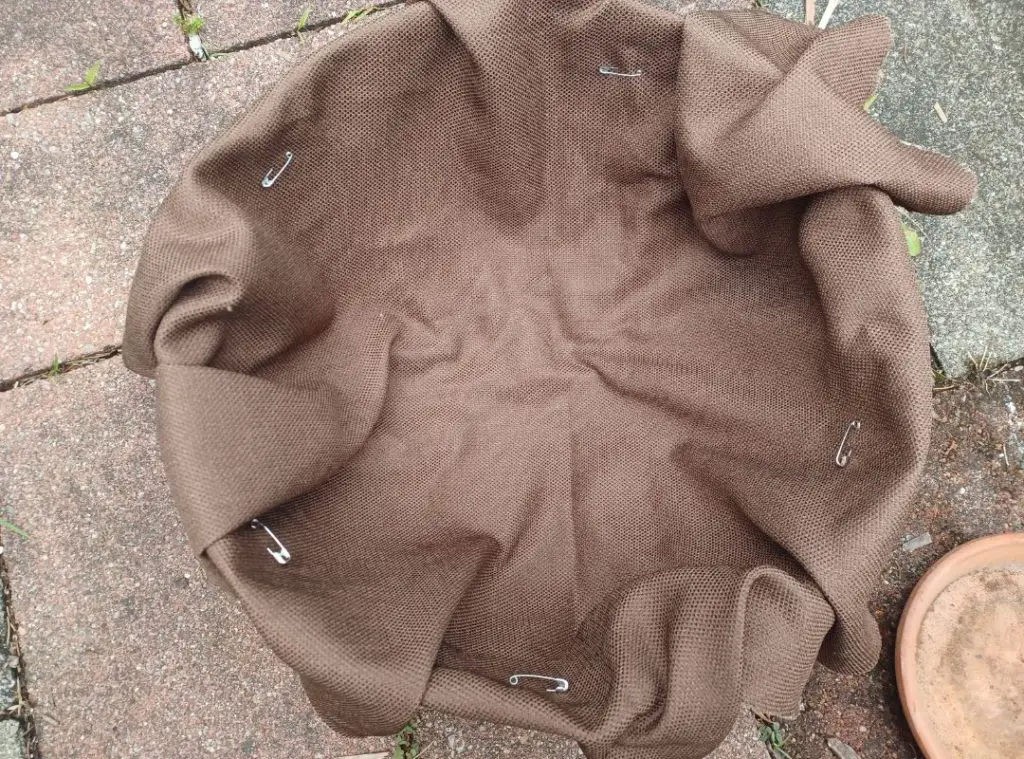
The pins will get rusty as the season goes on, but they should hold together fine.
Step 3 (optional): Line basket with plastic.
This next step is optional, but I find that adding a plastic liner will help keep your flowers and soil from drying out too quickly. Take two plastic grocery bags and cut the handles off of each. Then cut a slit down the side of the bag from the opening to the base so that the bag can be opened up and laid into the basket on top of your liner. Overlap the bags like this:
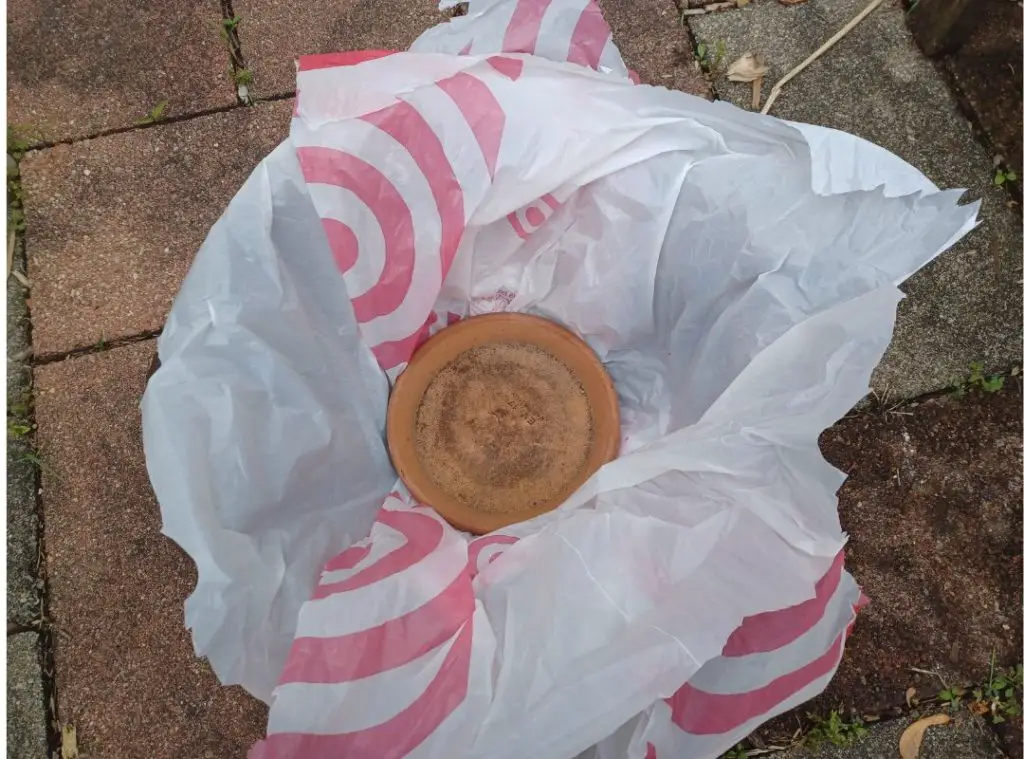
Again, I have used the flower pot tray to hold the bags in place (the wind kept trying to blow them away). This formation will hold some water in so that it doesn’t dry too quickly, while also allowing it to drain around the overlapped areas so that it doesn’t become waterlogged. If you use a plastic trash bag or another type of sheeting to line your basket, be sure to poke some holes into it so that it has some drainage.
Step 4: Add potting soil and flowers, trim excess.
Go ahead and add your potting soil and flowers (removing whatever object you set inside to temporarily hold the fabric and plastic in place). Once the soil is almost to the top of the basket, trim off the excess plastic. Fill in the rest of the soil and tuck any visible bits of plastic under the soil as needed. Trim off any excess fabric to suit your taste. To add a finishing touch, add some twine around the outside edge of the basket to hold the overlapping fabric in place. You’re done!

At the end of the season, you should be able to wash this fabric liner and use it again next year. Have you made your own fabric flower basket liners? We’d love to see them. Share it on the Green and Grumpy Facebook Group!


